
Getting Started
In today’s digital era, content creation often relies on the ability to capture and share screen recordings. A standout tool in this field is Apowersoft Free Screen Recorder. This guide will provide insights into maximizing this user-friendly and robust software’s capabilities.
Exploring Apowersoft Free Screen Recorder
The Apowersoft Free Screen Recorder is a versatile tool that provides an all-in-one solution for screen and audio recording, as well as screen capture. It produces high-quality results and offers customization options, making it a top choice for educators, content creators, gamers, and anyone needing to document their screen activities.
Highlighting Features of Apowersoft Free Screen Recorder
The Apowersoft Free Screen Recorder is packed with features that cater to a variety of recording needs. These include:
-
Versatile Screen Recording: The software enables users to record the entire screen, specific windows, or select regions, allowing for more focused recording.
-
Dual Audio Recording: It has the ability to simultaneously capture system sound and microphone audio, making it ideal for creating walkthroughs or tutorials.
-
Webcam Integration: Users can simultaneously record webcam footage with the screen recording for a more engaging viewer experience.
-
Screenshot Capability: In addition to video recording, the tool also has powerful screenshot functionality for capturing screen images quickly.
-
Post-Recording Editing Tools: Users can refine their videos with editing tools that allow the addition of annotations, highlights, or text as needed.
Setting Up Apowersoft Free Screen Recorder Correctly
To fully leverage the Apowersoft Free Screen Recorder, it’s essential to set it up properly. Here’s how:
-
Installation: Download the software from the official Apowersoft website and follow the prompts to install it on your device.
-
Customization of Settings: Go to the settings menu to adjust your preferences. Here, you can specify the default output format, audio sources, and hotkeys for faster operation.
-
Recording Mode Selection: Choose the appropriate recording mode based on your needs – full screen, application window, or specific region.
-
Selecting Audio Source: Decide if you want to record system sound, microphone sound, both, or none.
-
Webcam Integration: To include a webcam overlay in your recording, ensure your webcam is connected and selected in the software.
Apowersoft Free Screen Recorder in Different Scenarios
The Apowersoft Free Screen Recorder can be used in various scenarios. Some of the common use cases include:
-
Educational Content: Teachers can record lectures or tutorials, using the annotation tools to emphasize key points.
-
Gaming Content: Gamers can create engaging gameplay videos with commentary for platforms like YouTube or Twitch.
-
Professional Presentations: Professionals can record demos or presentations for clients or colleagues, adding a personal touch with the webcam overlay. Check out this uncovering the proficient uses and benefits of fraps screen recorder for more insights.
-
IT Support: IT professionals can create step-by-step guides to solve common issues, making their instructions more straightforward and accessible. Learn more about this on Wikipedia.
Enhancing Output Quality
To ensure high-quality recordings, consider the following tips:
-
Select the Right Output Format: The software supports several output formats. Choose the one that best suits your needs in terms of quality and compatibility.
-
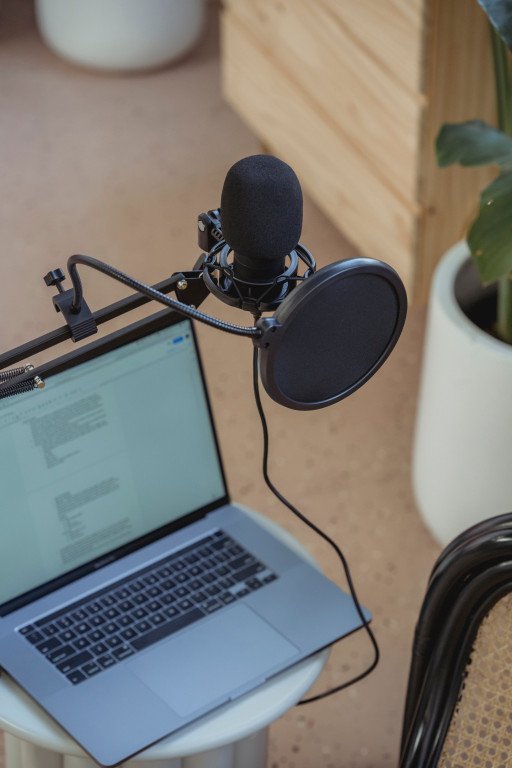
Invest in a Good Microphone: If you’re recording voice commentary, use a high-quality microphone for clear audio.
-
Utilize Editing Tools: Use the built-in editing tools to enhance your recordings, removing unnecessary parts and adding annotations where necessary.
Final Thoughts
The Apowersoft Free Screen Recorder is a comprehensive tool that meets a wide array of screen recording needs. Its user-friendly interface and feature-rich set offer a smooth recording experience. By understanding its functionalities and optimizing settings, you can create top-notch screen recordings effortlessly.
Related Posts
- Mastering High-Quality Screen Recording: A Step-by-Step Guide
- Open Source Screen Recording Tools: 5 Tips for Superior Windows Capture
- Uncovering the Proficient Uses and Benefits of Fraps Screen Recorder
- 5 Top Tips for Free Online Webcam Recording Guide
- Comprehensive Guide on Maximizing ShareX for Screen Recording with Audio